Finally got started on cutting parts for the first base section.
Have to bundle up and go outside to make the cuts though (at -10C) as the dust collector on the mitre saw doesn’t work well when cutting metal. It just sends little bits of metal dust flying all over my apartment, lol. Same issue with the Dremel while making the 1.5″ radius cuts for the rounded corners on the front end & the legs. 😛


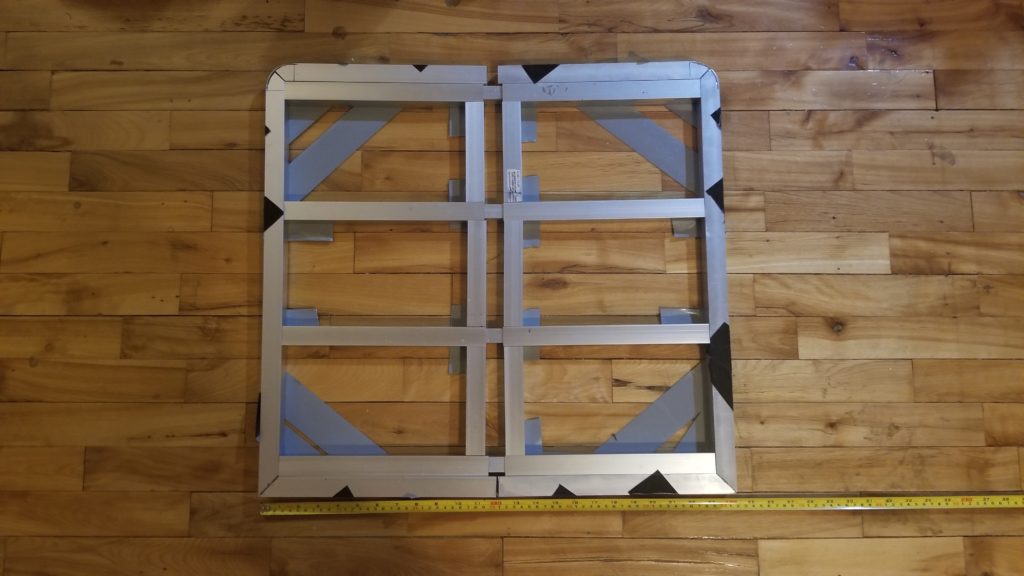
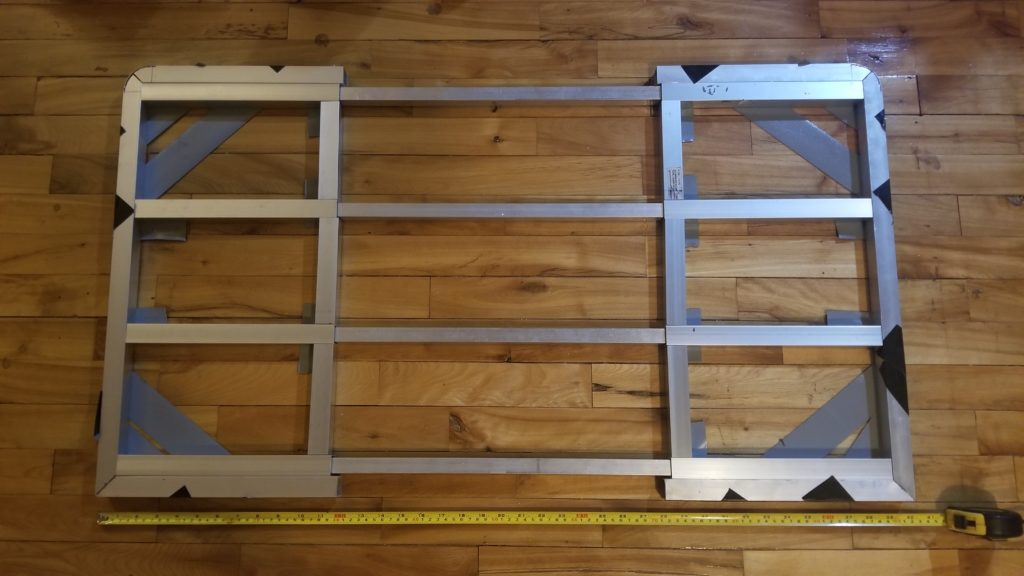
Above are pics of a dry-fitting of the telescoping assembly of the front base section. It’s all just held together with Gorilla tape for now (great stuff!), so not perfectly square, and there are a few minor adjustments to be made (thus the dry-fit), but you can see how the telescoping stringers will work in each section.
The image on the left shows the base section in its closed trailer state at 24″ wide, where the 3/4″ gap in the middle is to accommodate a center bracing member between all 4 stringers. The image on the right shows the overall width when fully extended in camper mode: 40″. The other 2 sections will function in the same manner.
Next step is cutting all the stops & shims made of 3/4″ angle that will be brazed to the inside end of the 1″ tubes (whose inside dimensions are 7/8″ square) and to each end of the nested 3/4″ tubes. This ensures a snug fit to eliminate wobble & binding, and allows each telescoping section to expand 8″ equally on each end to its maximum length of 38″ and no more.
Then on to preparing the base framing members along with supports, guiderails & legs. Finally, several hours of deburring, filing, chamfering, brushing & cleaning before assembling, clamping & brazing it all together.
Well, that would be the front base assembly at least; then on to the other two before tackling the sidewalls, canopy, wheels, etc.
Actually, I should get the wheels fitted first before determining the finished length of the legs, as the wheels will stay on when deploying in camper mode. So that’s next. 😀